Paving Your Way in Photoshop
Since I am
best known for my Photo realistic Photoshop techniques, I
think its time for me to show you how to create something.
We are going to create a realistic cobblestone path in
Photoshop 6. Adapt these techniques and see what variations
you can come up with on your own.
The first thing we are going to do is select
the custom shape tool, make the settings like you see here.
Choose the fill mode, polygon and set the sides to 6.
This will create a hexagon.

Create a new layer
Draw with the shape tool and a hexagon will appear.
Now to give it a nice fill, select the
gradient tool.
Set the gradient for circular and choose the copper setting
in the gradients box.
Select the hexagon and fill with the
gradient. Don't deselect.
Filter>Noise>add noise
Use the settings shown here to give a nice grainy feel. Do
not touch anything until you have read the next step!
Now here is the most important step:
Edit>Fade add noise
This will fade the last step with the previous state.
Change to overlay mode and drop the opacity to 58%.
Lets soften the effect a little. Filter>blur>Gaussian Blur.
Set the radius to 0.7 pixels
Lets add a bevel to the shape. Just use the
layers styles and use the inner bevel setting. Choose chisel
hard.
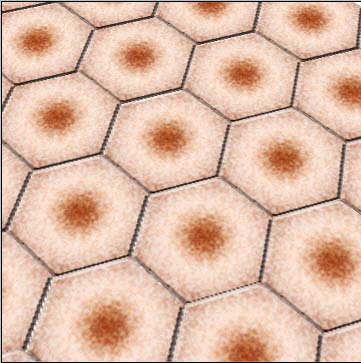
Now it's just a matter of duplicating the
cobblestones and arranging them.
The easy way is to hold the alt/option key and click and
drag a copy.
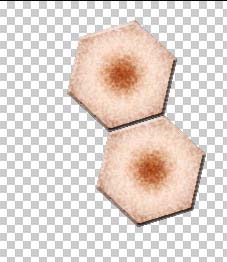
Keep doing this until your whole workspace is filled with
cobblestones.
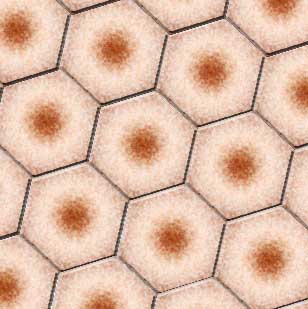
Merge all the layers together, click on the
little arrow on the top right and select merge visible.

Now we want to add some perspective to make
the image look more 3D
Press Crtl/Cmd+T to enter free transform mode.
Right click/MAC Ctrl+Click and choose Perspective.
Drag one of the nodes on the bottom corner
away from the image to create a perspective.
Press enter to apply.
There you go, your own cobblestone
path. I hope you enjoyed this weeks article.
|